
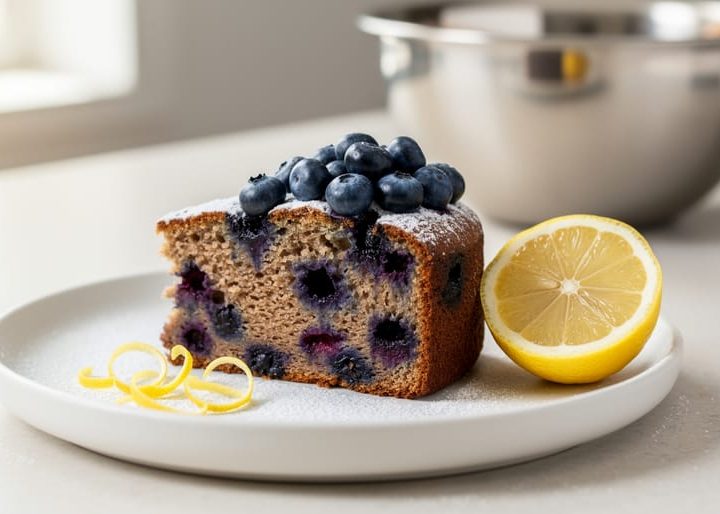
You can make a vegan blueberry lemon cake today, with no eggs, no butter, and no special equipment, and it will bake up tender, moist, and bright. The whole thing takes about 15 minutes of mixing and 40 to 45 minutes in the oven, and if you can stir a bowl and zest a lemon, you’ve got the skills for it.
The secret is simpler than you’d think. Plant milk soured with a splash of lemon juice stands in for buttermilk, a neutral oil keeps the crumb soft for days, and the baking soda reacts with that acidity to give you a good, even rise. No egg replacers to hunt down. No gummy centers.
I first made this cake on a gray Sunday when my sister, newly dairy-free, was coming for tea and I had exactly zero vegan desserts in my repertoire. I was nervous, honestly. But that first loaf disappeared before the kettle cooled, and the version below is the one I’ve refined ever since.
Below, I’ll walk you through the handful of swaps that make it work, what you’ll need, and each step in order, plus how to tell when it’s truly done. We’ll also cover frozen berries, storage, and fixes for the common hiccups.
What Makes a Vegan Blueberry Lemon Cake Work Without Eggs or Dairy
Here’s the good news: a vegan blueberry lemon cake isn’t a compromise. It’s just a different route to the same tender, bright slice you already love.
To see why, it helps to know what eggs and butter normally do. Eggs give a cake structure and help it rise, while butter brings moisture and richness. Take them out, and you just need something else to do those jobs. Luckily, the swaps are simple and you probably already own them.
Plant milk and lemon juice team up first. When you stir lemon juice into any plant milk, it thickens slightly, a bit like buttermilk, and that acidity is exactly what we want. Pair it with baking soda and you get a little fizzy reaction that puffs up the batter as it bakes. That’s your lift, no eggs required.
Neutral oil handles the moisture and richness that butter would have supplied. Oil is actually a secret weapon for soft cakes, because it keeps the crumb tender and moist for days, even after it’s been sitting on the counter.
The lemon pulls double duty here, too. It’s the flavor star and the science behind the rise, which I love, because nothing in the bowl is wasted.
One last thing: the method matters as much as the ingredients. Stir only until you no longer see dry flour. A few small lumps are perfectly fine, and they’re a sign you’re doing it right.
Ingredients and Tools You’ll Need for Vegan Blueberry Lemon Cake
Pantry Ingredients and Easy Swaps
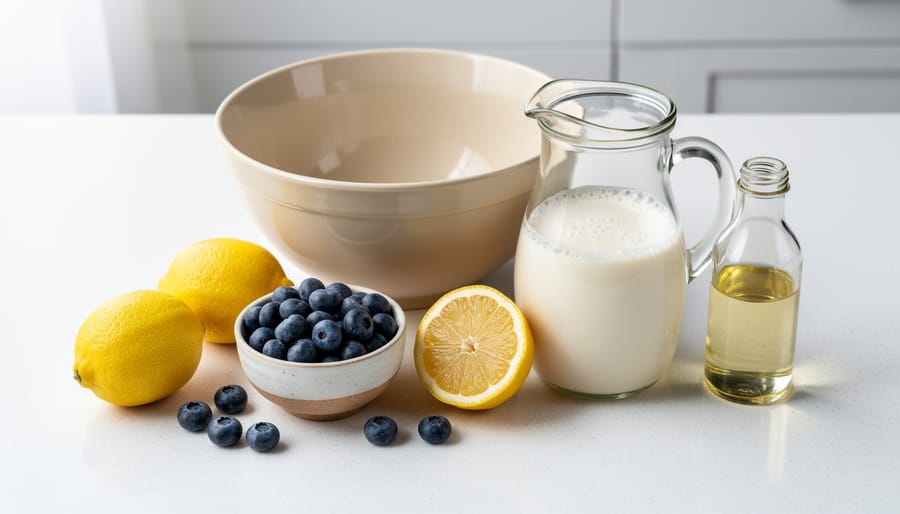
Everything here comes from a regular grocery store, so you won’t need a special trip. This makes one 8-inch round or loaf cake, and it bakes up moist and tender when you measure carefully.
- 1 1/2 cups (190 g) all-purpose flour (swap: a 1:1 gluten-free baking blend works well).
- 3/4 cup (150 g) granulated sugar.
- 1 1/2 teaspoons baking powder.
- 1/2 teaspoon baking soda.
- 1/4 teaspoon salt.
- 3/4 cup (180 ml) unsweetened plant milk (swap: soy, oat, or almond all work).
- 1/3 cup (80 ml) neutral oil, like canola or sunflower.
- 2 tablespoons fresh lemon juice, plus the zest of 2 lemons (swap: bottled juice in a pinch, but fresh zest is worth it).
- 1 teaspoon vanilla extract.
- 1 cup (150 g) blueberries (swap: fresh or frozen, no need to thaw).
A few quick notes from my own kitchen. Soy milk gives the most dependable rise, but I’ve had lovely results with oat milk too. Frozen blueberries are perfectly fine, and they’re often cheaper. Bottled lemon juice will do the job, though the flavor is flatter, so I’d always zest a real lemon. If you go gluten-free, let the batter rest for five minutes before baking so the flour can hydrate.
Basic Baking Tools (No Fancy Equipment Required)
You don’t need a fully stocked bakery kitchen for this cake. If you’ve got a few basics, you’re set.
Here’s what to pull out before you start:
– Two mixing bowls: one for the dry ingredients, one for the wet. Any size works, though a medium and a large make folding easier.
– A whisk or a sturdy spoon: a fork will do in a pinch. There’s no need for a stand mixer or hand mixer here, since this batter comes together by hand.
– A zester or grater: a microplane is lovely, but the fine side of a box grater does the job just as well. Go slowly and keep your knuckles clear of the sharp edges.
– An 8-inch round pan or a loaf pan: either gives you a lovely cake, though a loaf pan may need a few extra minutes in the oven.
– Parchment paper: this helps the cake slide out cleanly. If you’re out, greasing and lightly flouring the pan works too.
– A toothpick: it’s your trusty doneness checker. A thin skewer or even a dry strand of spaghetti works if your toothpicks have vanished.
That’s really it. Nothing here is fussy, and most of it is probably already in your cupboard.
Before You Start: Kitchen Safety and Common Cake Mishaps to Avoid
A few minutes of prep now saves you a lot of heartache later, and none of it is complicated. Think of this as a quick pre-flight check before the fun part.
Start with the oven. Ovens vary more than most people realize, and a hot oven is the most common reason a cake browns too fast on top while staying gooey inside. If you have an inexpensive oven thermometer, set it inside and see what it actually reads. In a modern modern kitchen the dial and the real temperature can still drift apart by 25 degrees or more.
Speaking of allergies, glance at your plant milk, flour, and chocolate or sprinkles if you’re using any. Nuts, soy, and gluten hide in surprising places, and a quick label check takes seconds.
When zesting, keep your fingers well away from the grater’s edge. Zest in short, steady strokes and stop when you hit the white pith, which turns bitter. Stopping early also spares your knuckles.
Know your stop conditions, too:
– If your batter looks curdled or separated after the lemon juice goes in, check your measurements and whisk gently before deciding anything.
– If the top browns quickly, tent it loosely with foil.
– If your oven is clearly running hot, lower the temperature rather than hoping for the best.
Staying calm here is half the battle.
How to Make Vegan Blueberry Lemon Cake: Step-by-Step From Bowl to Oven
Prep the Pan, Oven, and Lemon
Start by turning your oven to 350°F (175°C) so it’s fully hot by the time your batter is ready. Next, grease your 8-inch pan lightly with oil or vegan butter, then press a round of parchment paper into the bottom. That little step is your insurance policy for a clean release later.
Now for the lemons. Zest them first, while they’re still firm and easy to hold. Use a zester or the fine side of a box grater, and stop when you hit the white pith, since that part tastes bitter. You’ll want about two tablespoons of zest.
Before juicing, roll each lemon firmly on the counter under your palm for ten seconds. This breaks up the fibers inside and gives you noticeably more juice. Cut, squeeze, and fish out any seeds.
Mix the Batter Without Overworking It
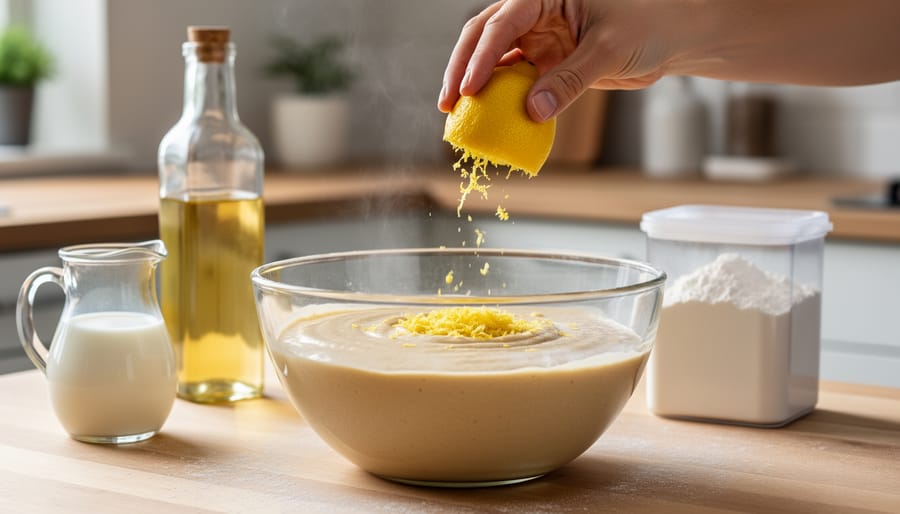
Start with two bowls. In the larger one, whisk your flour, sugar, baking powder, baking soda, and salt until they look evenly combined. In the second, stir together the plant milk, lemon juice, oil, vanilla, and zest. Keeping them apart means every bit of leavening gets spread through the flour before any liquid touches it.
Now pour the wet into the dry and fold with a spatula or wooden spoon. Scrape down the sides, turn the bowl, and repeat. Stop the moment you can’t see dry flour. A few small lumps are perfectly fine, and honestly a good sign.
Here’s why that matters. Once flour meets liquid, it starts forming gluten, the stretchy network that gives bread its chew. In a cake, you want just enough for structure, not a springy mess. The more you stir, the tougher and chewier the crumb gets.
I learned this the hard way. On my first vegan attempt, I whisked that batter like I was beating a drum, determined to get every lump out. The cake came out dense and rubbery, more like a lemon-scented sponge for washing dishes than dessert. Now I mix for about fifteen strokes, then walk away from the bowl.
Fold in the Blueberries (and Keep Them From Sinking)
Here’s a little trick that saved my early cakes: toss your blueberries in a spoonful of flour before they meet the batter. That light dusting helps them grip the batter, so they stay scattered through the cake instead of sinking into a soggy layer at the bottom.
Add the berries last, and fold them in with a spatula using slow, gentle scoops from the bottom up. Stop as soon as they’re evenly spread. Stirring hard bursts the berries and works the batter too much.
Using frozen berries? Don’t thaw them. Thawed berries bleed juice and turn the whole cake an odd purple-gray. Straight from the freezer, give them the same flour toss and fold them in quickly. They may need a few extra minutes in the oven, so keep an eye on your bake time.
Bake, Cool, and Add the Lemon Glaze
Slide the pan into the center of a 350°F (175°C) oven. A loaf pan usually needs 50 to 60 minutes, while an 8-inch round is often ready at 35 to 45. Ovens run hot or cool, so start checking a few minutes early and trust the cake over the clock.
Here’s the whole process in order, so you can follow along at the counter:
- Preheat the oven to 350°F (175°C) and line your pan with parchment.
- Zest and juice the lemons, rolling them first for extra juice.
- Whisk the dry ingredients in one bowl and the wet ingredients in another.
- Pour the wet into the dry and fold just until no flour streaks remain.
- Toss the blueberries in a spoonful of flour, then fold them in gently.
- Scrape the batter into the pan, smooth the top, and bake until golden.
- Cool in the pan for 15 minutes, then lift out onto a wire rack.
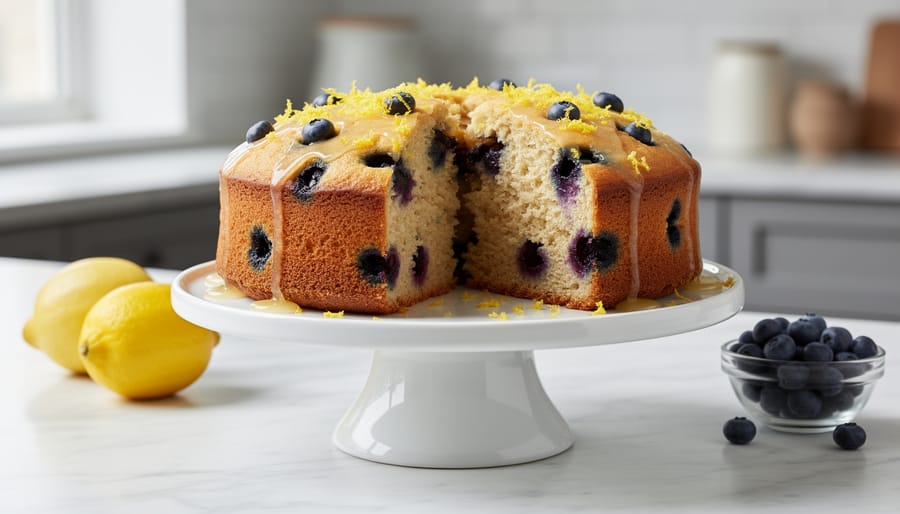
- Whisk the glaze and drizzle it over the fully cooled cake.
Patience matters at the cooling stage. A warm cake is fragile, and glaze poured on too early just melts and slides off. Wait until the cake feels completely cool to the touch.
For the glaze, whisk one cup of powdered sugar with about two tablespoons of lemon juice. Add the juice a teaspoon at a time at the end. Too thick? A few drops more. Too thin? A spoonful more sugar.
How to Tell Your Cake Is Done (and What to Do Next)
Nobody wants to pull a gorgeous cake out of the oven only to slice into a gummy middle. Since every oven runs a little differently, I rely on a few signs instead of the clock alone. Start checking about five minutes before the earliest time in your recipe. Here’s what to look for:
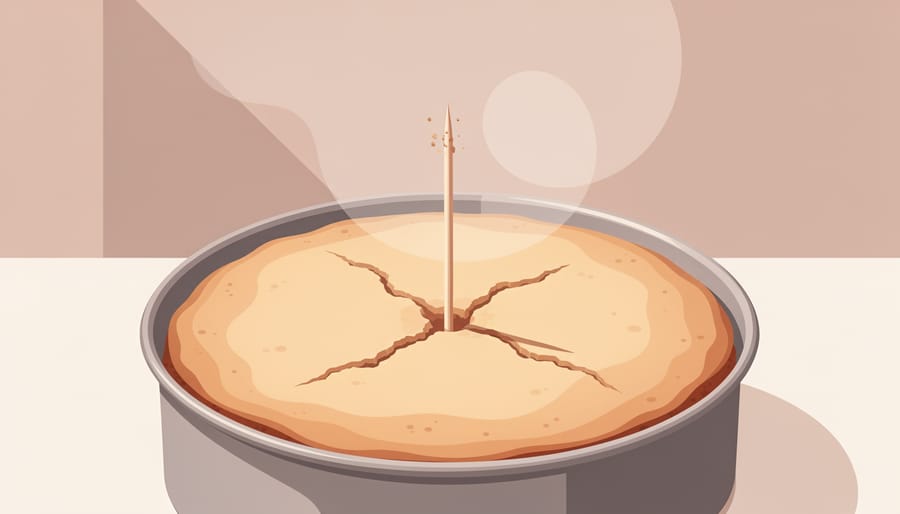
- A toothpick inserted in the center comes out clean or with a few dry crumbs, not wet batter.
- The edges are golden and pulling away slightly from the pan.
- The top springs back lightly when you gently press it with a fingertip.
Blueberries can fool you here, so aim the toothpick at a spot between berries. A streak of melted blueberry is fine, but raw, sticky batter means it needs more time.
If the center is still wet, give it another five to ten minutes and test again. If the top is browning too fast while the middle lags behind, loosely tent a piece of foil over the cake and keep baking.
Once it’s done, let the cake cool in the pan for about 15 minutes, then move it to a rack. Wait until it’s completely cool before adding the glaze, or it will melt right off. Store leftovers covered at room temperature for a day or two, or in the fridge for longer. Serve slices at room temperature for the softest crumb.
Vegan Blueberry Lemon Cake FAQs: Storage, Substitutions, and Troubleshooting
Here are the questions bakers ask me most often about this cake, along with the answers I give them.
Can I use frozen blueberries?
Absolutely. Use them straight from the freezer, don’t thaw them, and toss them in a spoonful of flour before folding them in so the batter doesn’t turn purple. Add a few extra minutes to the bake time if needed.
How long does it keep, and can I freeze it?
Store the cake covered at room temperature for up to two days, then move it to the fridge for a few more. To freeze, wrap unglazed slices tightly and thaw them on the counter, adding the glaze fresh.
Why did my cake sink or turn out dense?
The usual culprits are overmixing, opening the oven door too early, or an oven that runs cooler than the dial says. An oven thermometer is a cheap fix, and gentle folding does the rest.
Can I make it gluten-free or turn it into muffins?
A good one-to-one gluten-free flour blend works well, though the crumb will be a little more delicate. For muffins or cupcakes, fill the liners about two-thirds full and bake for roughly 20 to 25 minutes, checking with a toothpick.
If you’re baking with little helpers, this cake is a lovely place to start. The batter is forgiving, the steps are simple, and there’s no raw egg to worry about, which makes it a natural fit for kid-friendly baking. Let them zest the lemon with you, roll the fruit on the counter, or sprinkle the berries into the bowl.
One last thing I always tell people: don’t panic if your first try isn’t perfect. Mine certainly wasn’t. Jot down what you’d change, like a bit more lemon or a few more minutes in the oven, and the next one will come out even better.
You’ve got everything you need now: a simple batter, a bright lemon glaze, and a plan for those juicy blueberries. That first dense cake of mine taught me more than any perfect one ever could, so if yours isn’t flawless, don’t sweat it. Slice it anyway, because it’ll still taste wonderful.
The best part is making it your own. Swap in raspberries, add a little poppy seed, or stir extra zest into the glaze if you love that tangy punch. Serve a slice with tea, or look at perfect pairings for ideas on rounding out a full spread.
I’d love to hear how yours turns out! Share your results, tweaks, and happy accidents with me, and poke around Christy’s Pastry Guide for more recipes and baking basics. Happy baking, friend!


